Tile Installation Services for Property Owners
This page explains tile installation services and helps property owners compare local contractors and service providers.
- - Residential property owners seeking to update kitchens or bathrooms with new tile installations.
- - Commercial space managers looking for reliable local contractors to handle large-scale tile projects.
- - Homeowners planning renovation projects that require professional tile installation services.
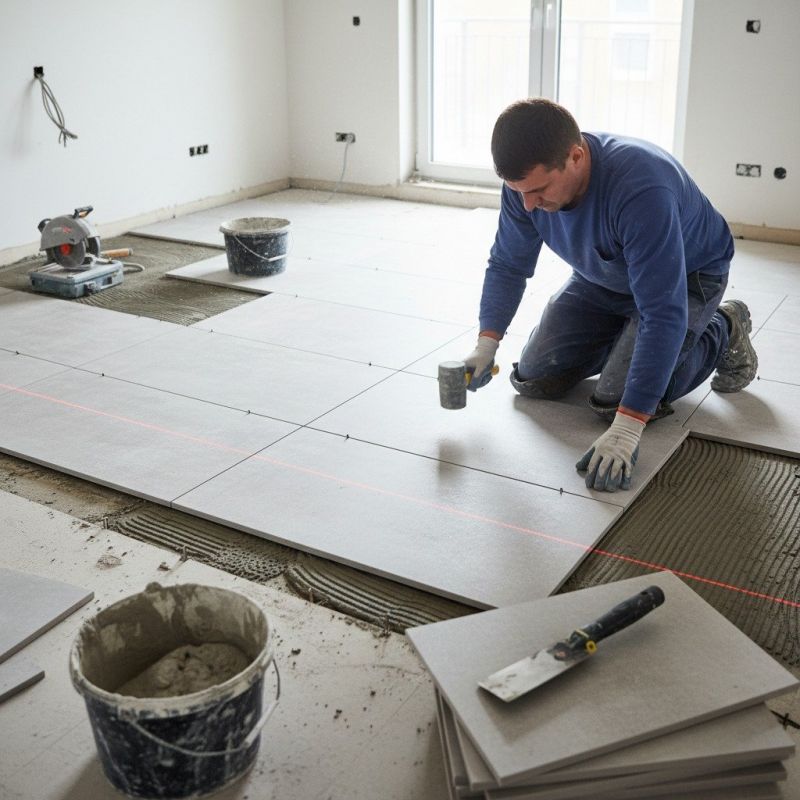
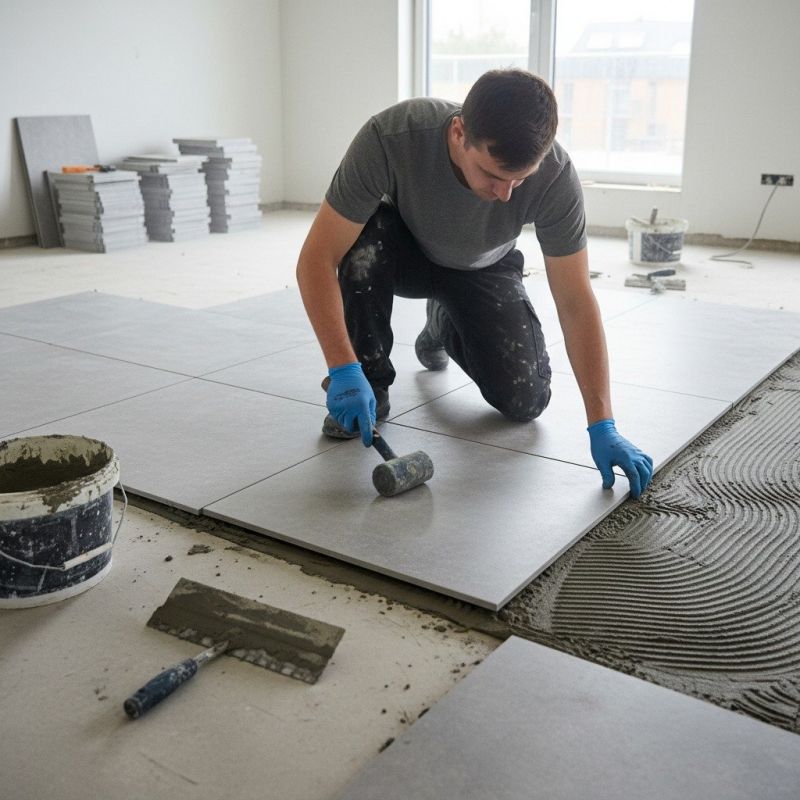
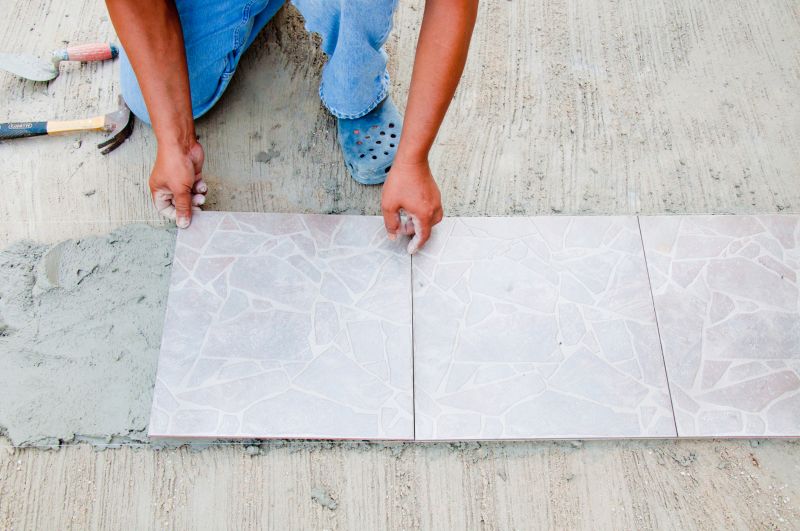
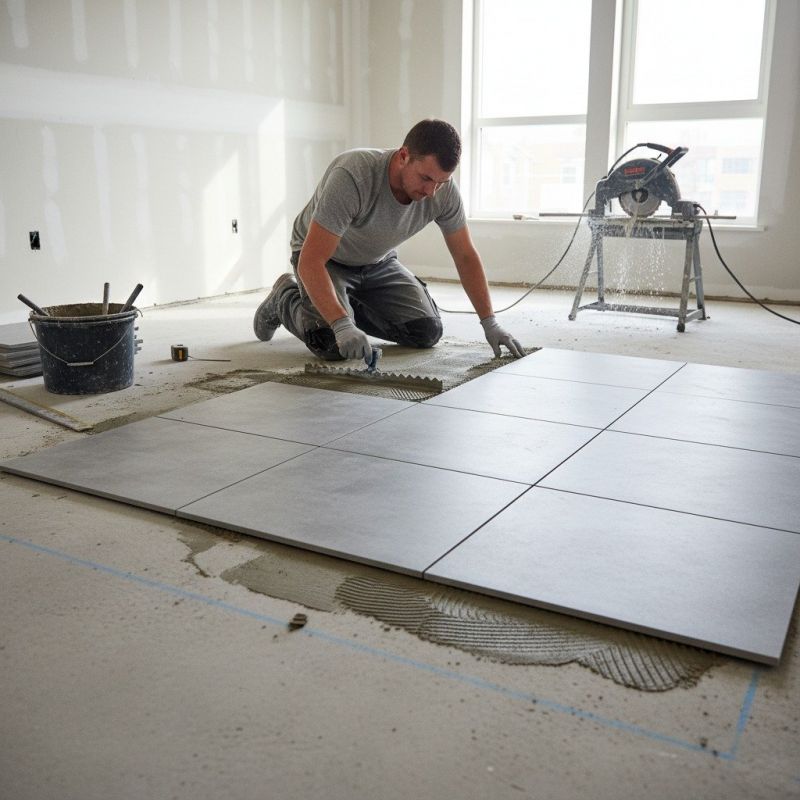
Tile installation services involve the placement and setting of ceramic, porcelain, stone, or other types of tiles on floors, walls, and surfaces within residential and commercial properties. Property owners often seek local contractors for these projects to enhance the appearance and functionality of kitchens, bathrooms, entryways, or outdoor spaces. These professionals typically handle tasks such as surface preparation, layout planning, cutting tiles to fit, and applying grout or sealants, ensuring the finished work meets aesthetic and durability standards.
Local service providers in tile installation are experienced in managing a variety of project sizes and styles, from small backsplash updates to large flooring overhauls. Property owners can expect these pros to assess the space, recommend suitable materials, and execute the installation with attention to detail. Connecting with local contractors can help find the right fit for specific needs, whether aiming for a modern look or a more traditional design.
This guide provides helpful information to understand the basics of tile installation projects. It assists in comparing local contractors and connecting with skilled service providers. The content aims to prepare homeowners to discuss their project details confidently.